Crib to Toddler Bed Conversion: Step-by-Step
By Maya Chen • 28th Apr
Crib to bed convertible options and toddler bed conversion kits are everywhere, but most generic guides ignore the reality of tight layouts. In small apartments and shared rooms, the transition isn't just about swapping furniture (it's about reclaiming the inches you've already measured twice). This step-by-step process prioritizes exact dimensions, safety pathways, and keeping your toddler's sleep intact while the room itself stays livable.
Assess Readiness Before You Start
Waiting matters more than you think. For developmental cues beyond age, see our toddler bed readiness guide. Your child should be at least 2.5 to 3 years old before transitioning, as younger toddlers struggle to understand boundaries and are more likely to wander at night or treat an open bed as an invitation to leave the room. Ask yourself: Is my child climbing out of the crib? Can they follow basic directions? Are they staying dry through naps?
If your little one is still sleeping well in the crib and content, don't move forward yet. Conversely, if they've cleared the rail more than once with it fully raised, the safety window has closed. It is time.
Important note: If your child has existing sleep challenges (frequent night wakings, difficulty falling asleep), resolving those first in the crib is easier than managing them in an open bed. Independent sleep skills are 100% easier to teach behind crib rails; teach the skill first, transition after.
Step 1: Measure Your Room and Map the Clear Path
Get a measuring tape and a floor plan. Document the exact dimensions of your room: length, width, and ceiling height. Mark doorways, windows, vents, closets, and electrical outlets. This isn't optional in small spaces (it's your foundation).
Now, identify your clearance path: the route your child will travel from bed to door or to the bathroom. This path must be at least 24-30 inches wide and free of furniture corners, dangling cords, or toys. That anecdote about pivoting the dresser? It wasn't decorative; it was surgical. A 28-inch clearance saved 40 square feet of psychological space.
If your room is under 100 square feet or your child shares it, this step is non-negotiable. Many parents underestimate how much of the night involves a toddler padding to a parent's room, asking for water, or needing the bathroom. Clear the nighttime path first, and the rest follows.
Step 2: Understand Your Bed Conversion Options
There are three main paths forward:
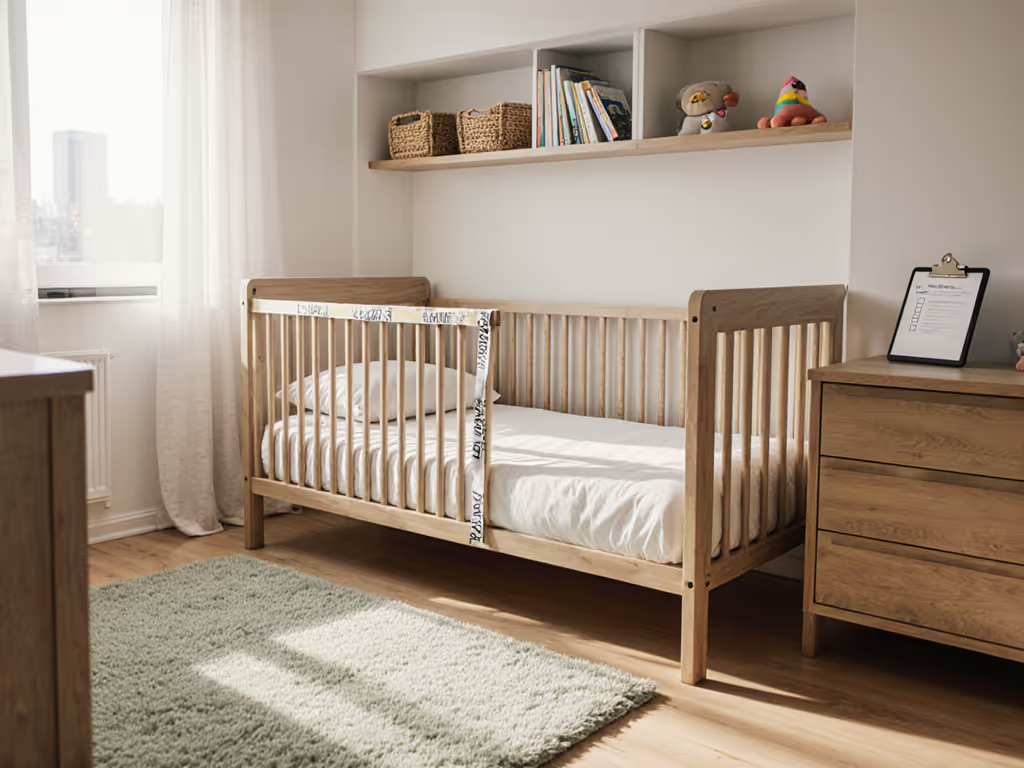
- Crib-to-toddler bed convertible: A crib with removable rails and a lower profile (typically 14-18 inches high). Footprint: ~28-30 inches wide × 52-56 inches long. This keeps the child in a familiar space but may feel cramped long-term.
- Crib-to-twin conversion kit: Some cribs accept a kit that expands the sleep surface from ~27" × 47" to a full 38" × 75" twin. Footprint nearly doubles; only viable if you have the floor space.
- Skip the toddler bed entirely and transition to a twin or full-size bed: Many families find this works better, because a toddler bed may feel like "the same old crib with an easy exit" rather than something new and exciting. A distinct bed signals a milestone.
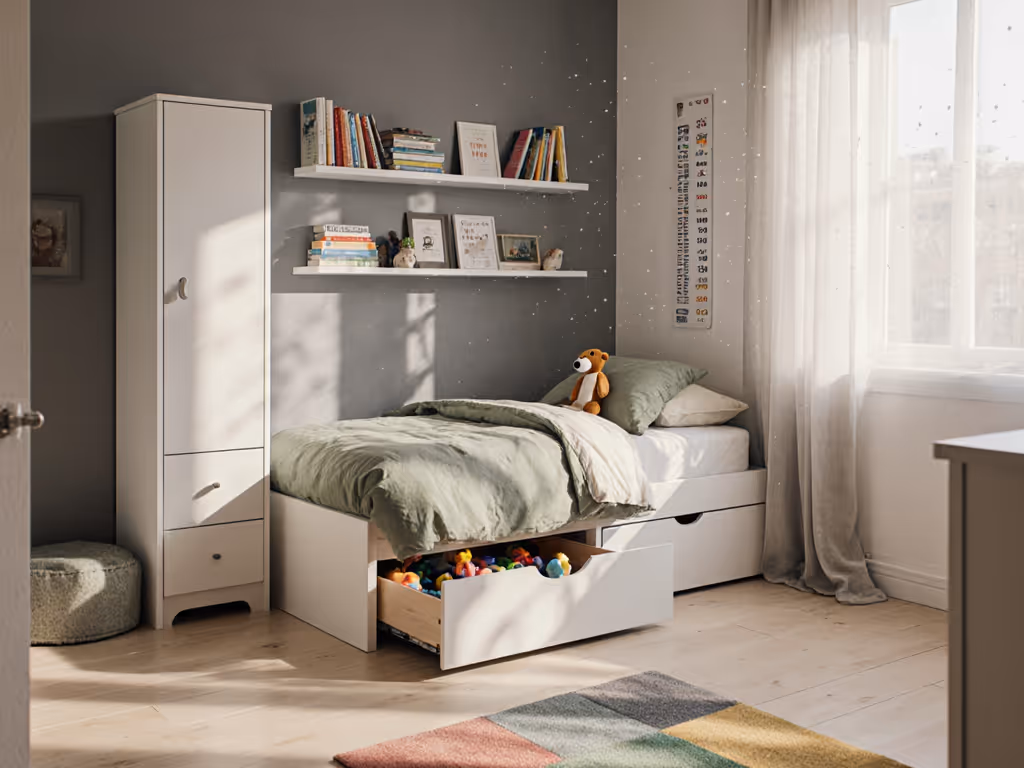
For small rooms, measure the difference: a standard toddler bed occupies roughly 28" W × 52" L. A low-profile twin frame occupies 38" W × 75" L. If your floor space is tight, the toddler bed is the compromise; if you have even modest floor space, a twin with under-bed rolling storage often delivers a better sleep-to-storage ratio and longer usable life.
Step 3: Child-Proof and Clear the Room
Transitioning to an open bed means your child can move freely. This is progress and a safety challenge.
Anchor tall furniture to the wall. Dressers, bookshelves, and changing tables must be secured, as toddlers are climbers and a tipping piece of furniture is a real risk. Use L-brackets rated for the weight and item height. Do not skip this. See our childproofing guide for anchoring and cord safety across the whole bedroom.
Cover electrical outlets and secure all cords. Get on your hands and knees and see the room from your toddler's eye level. Window blind cords are a major hazard; tie them up or switch to cordless blinds. Baby monitor cords, white noise machine cables, and lamp wires should be routed behind furniture or secured with cable management clips.
Remove or secure any item smaller than a toilet paper roll (choking hazard), anything sharp, and anything with long strings or chains. Check the room a second time. Then a third.
In tiny rooms, every inch should work twice, and every inch of safety preparation pays dividends at bedtime.
Ensure safe egress. If your toddler can open the door to the room, consider a door alarm so you're alerted if they leave. Install nightlights in the bedroom and hallway so they can see where they're walking at night.
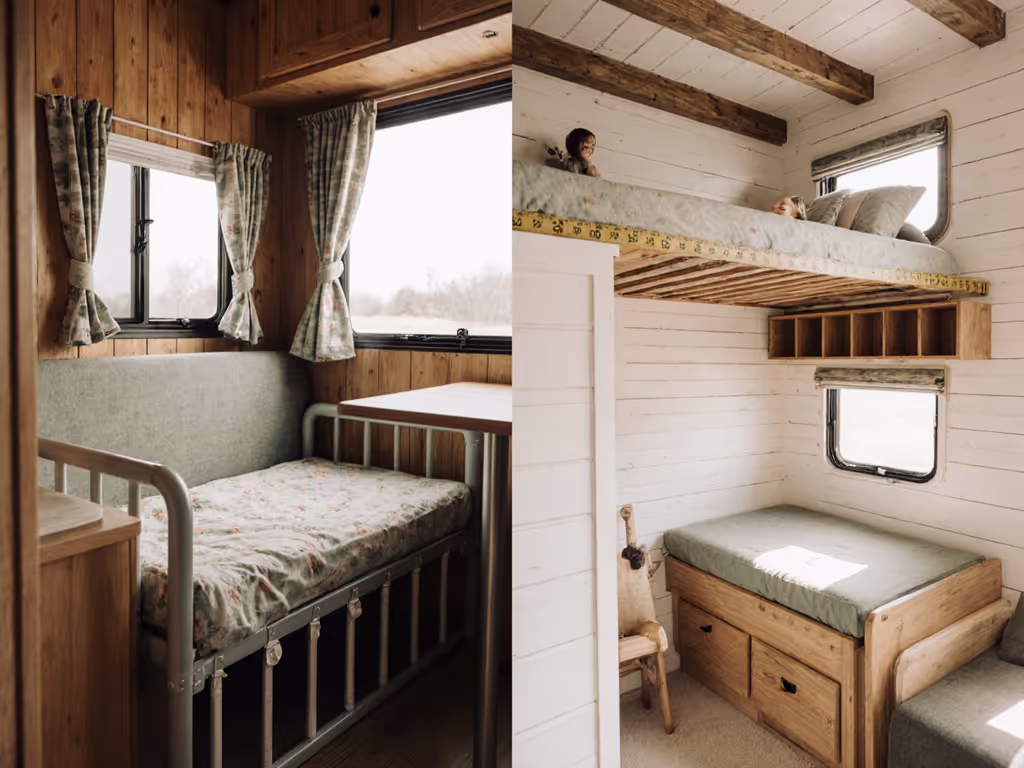
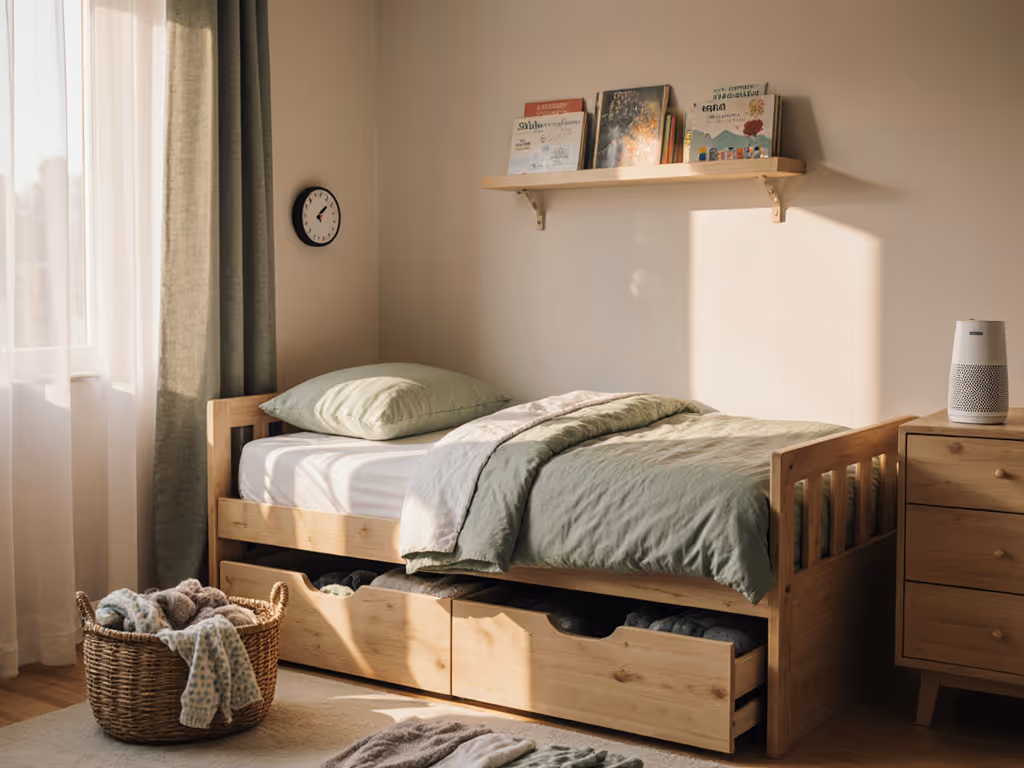
Step 4: Position the Bed and Keep Familiar Landmarks
Place the new bed where the crib used to sit. This preserves your child's spatial memory and routine. Familiar sights when waking reduce anxiety.
Keep the same sheets or blankets from the crib for a few weeks - even if they're now too small - to preserve sensory familiarity. This breeds comfort and eases the transition.
Position the bed away from windows, radiators, and drafty areas. Ensure your child has plenty of room to safely exit independently. A low-profile frame (8-10 inches high) with guardrails or a fitted bumper reduces fall risk and makes re-entry easier if they wake at night. Not sure between rails and bumpers? Compare options in bed rail types.
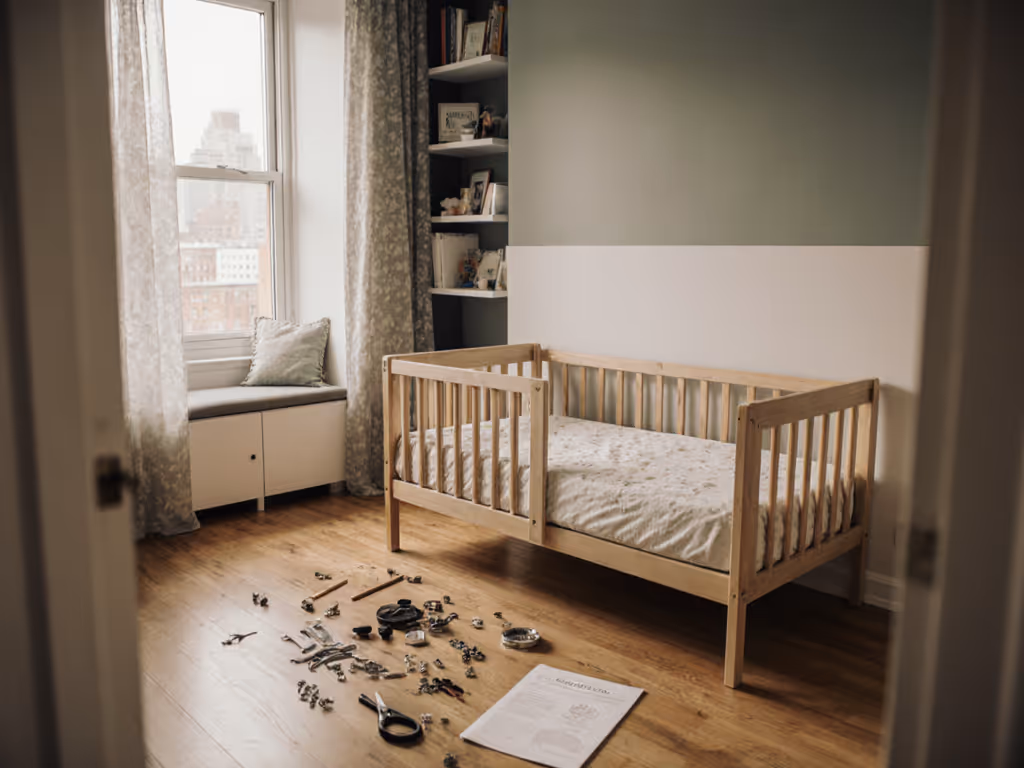
Step 5: Introduce the Bed Before Sleep Begins
If you're purchasing a new toddler bed or frame (and not converting the crib), place it in the room 1-2 weeks before the transition. Tell your child you're waiting for special sheets they help pick, or a particular stuffed animal to "christen" the bed. This normalizes the furniture without pressure.
Let them sit on it during the day, read stories on it, and place a favorite toy or blanket inside. This transforms it from an unknown object into part of the room's landscape.
Step 6: Start the Transition at Bedtime, Not Naps
Bedtime is your best shot for success on night one. Naps involve bright daylight and less melatonin, making the transition harder. If your child still naps, keep nap time in the crib until bedtime routines in the new bed feel smooth and consistent.
Maintain your normal bedtime routine; the only change is that you're tucking them into the new bed at the end. Use this evidence-based bedtime routine to keep cues consistent. Consistency is your superpower here. Little ones mirror our emotions; if you seem calm and confident, they sense that everything is going to be fine. Project certainty, even if you don't feel it.
Step 7: Set Clear Expectations and Follow Through
Outline the rule clearly: "You stay in bed. I'm right outside the door to help you remember." And then follow through. If they get up, gently guide them back. Repeat as many times as needed; some nights, that's 20 times. If escapes become a pattern, troubleshoot with toddler bed escape solutions.
Don't announce the transition days in advance or ask them if they're "ready." The decision is made; you're simply executing it.
Summary and Final Verdict
A smooth crib-to-bed conversion in a small space hinges on three anchors: readiness (your child is at least 2.5-3 years and sleeping well), measurement (you know your floor plan and have mapped the clear nighttime path), and safety (furniture is anchored, cords are secure, and hazards are gone). Skip the toddler bed if your layout allows a low-profile twin (the extra visual breathing room and longer usable life justify the footprint in most cases).
Place the new bed where the crib stood. Keep familiar textures and scents. Start at bedtime, maintain your routine, and project calm confidence. This isn't a purchase decision; it's a space reclamation. Measure twice, visualize bedtime paths, then choose what fits. On the other side of that first night, you'll clear the nighttime path and wonder why you waited so long.
Related Articles
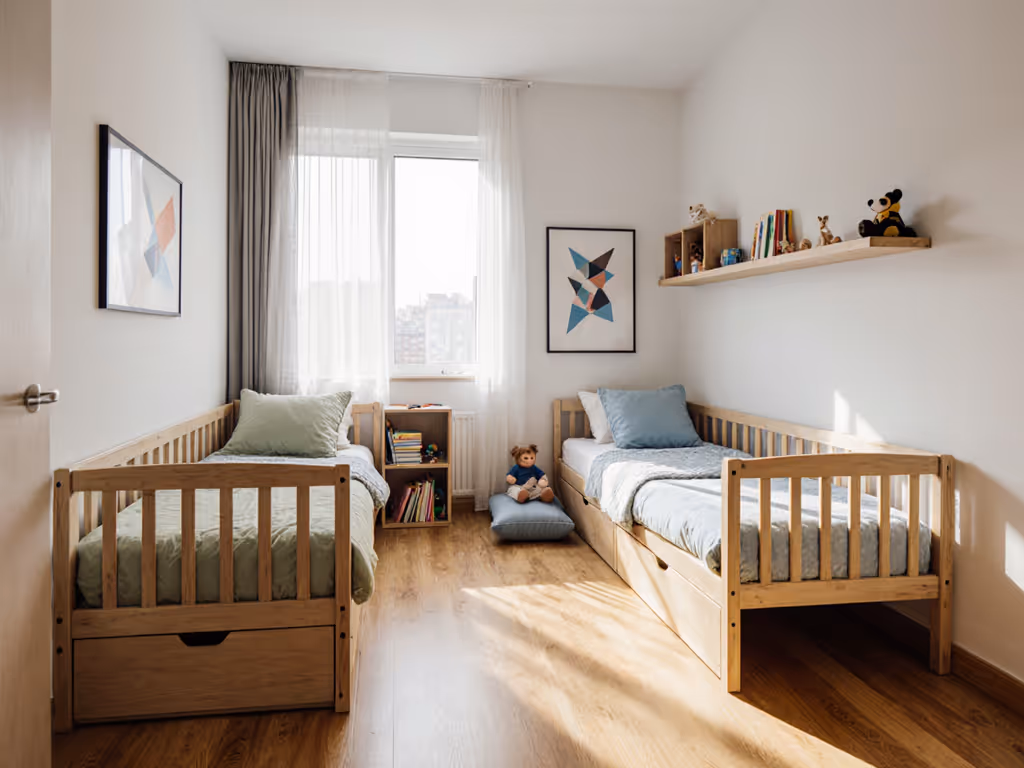
Space-Saving Toddler Beds for Small Bedrooms: Top 5 Picks
Create a calm, independence-boosting sleep space in a small room with low-profile design guidance, exact measuring tips, and renter-friendly considerations. Compare five compact toddler beds selected to maximize floor space, safety, and flexibility - even in shared or oddly shaped rooms.